
How to Design a Flower Bed: Shape, Color, and Texture
Master how to design a flower bed with expert guidance on bed shapes, color theory, height layering, foliage contrast, and planning for seasonal interest.
How to Design a Flower Bed: Shape, Color, and Texture
A flower bed is where garden design becomes personal. The shape of the bed, the colors you choose, the way textures play against each other -- these decisions express your taste and create the emotional heart of your garden. A well-designed flower bed can make a small garden feel generous, a new garden feel established, and an ordinary space feel extraordinary.
Yet many gardeners approach bed design randomly, buying whatever catches their eye at the garden center and finding a spot for it later. The result is visual chaos -- lots of individual beauty but no composition. This guide gives you a framework for designing flower beds that work as unified compositions, with guidance on shape, color, height, texture, and seasonal planning. For the broader garden design process, see our complete guide to designing a garden from scratch.
Choosing the Shape of Your Bed
The shape of a flower bed sets the tone for the entire garden. It is the first thing people perceive, even before they notice individual plants.
Curved Beds
Curves feel natural, relaxed, and informal. They work beautifully in cottage gardens, woodland edges, and informal mixed borders. A few rules make curves successful:
- Use gentle, sweeping curves rather than tight wiggles. A bed edge should flow like a river, not squiggle like a child's drawing.
- Anchor curves to something: a tree, a corner of the house, a path junction. Floating curves with no relationship to anything else look random.
- Use a garden hose to lay out curves on the ground before cutting. Stand back and view from multiple angles, especially from inside the house.
Straight-Edged Beds
Straight edges feel formal, structured, and deliberate. They suit modern gardens, formal parterre designs, and any space where you want clean architectural lines. Straight beds are also the easiest to maintain -- a clean edge along a straight line is simpler than maintaining a flowing curve.
Geometric Beds
Circles, rectangles, L-shapes, and combinations of geometric forms create strong visual impact. A circular bed in a square lawn, for example, creates dynamic tension. Geometric beds work particularly well when viewed from above -- from a first-floor window or a raised terrace.
Island Beds
An island bed is freestanding, surrounded by lawn or paving on all sides. It can be viewed from every direction, which means you plant the tallest elements in the center and grade down to the edges in all directions. Island beds work well in large, open gardens where a single deep border would leave one side of the garden empty.
Designing with Color
Color is the most powerful tool in flower bed design. It can create moods, draw attention, and make spaces feel larger or more intimate.
Understanding the Color Wheel
The color wheel is your starting point. It arranges colors in a circle:
- Primary colors: Red, yellow, blue
- Secondary colors: Orange (red + yellow), green (yellow + blue), violet (blue + red)
- Tertiary colors: The blends between primaries and secondaries
For a deep dive into using the color wheel in your garden, see our guide on how to use color theory in garden design.
Color Schemes That Work
Complementary (high contrast): Pair colors from opposite sides of the wheel -- purple and yellow, orange and blue. These combinations vibrate with energy and draw the eye. Use them for focal points and feature beds.
Analogous (harmonious): Use three to five colors that sit next to each other on the wheel -- pinks, purples, and blues, or yellows, oranges, and reds. These create a smooth, cohesive feeling.
Monochromatic (sophisticated): Use variations of a single hue -- pale pink, medium pink, deep rose, magenta. Monochromatic schemes rely on texture and form for variety and feel elegant and restrained.
Hot colors (red, orange, yellow): Advance toward the viewer, making spaces feel smaller and more intimate. They create excitement and energy.
Cool colors (blue, purple, white): Recede, making spaces feel larger and more tranquil. They are particularly effective at the far end of a long garden.
A common mistake is using too many colors in a single bed. Limit yourself to two or three main colors plus green foliage, and the bed will feel composed rather than chaotic. You can always add a bold accent color in small amounts for drama.
The Role of Green
Green is not just background. It is the most important color in any garden. Different greens -- lime, forest, silver-green, blue-green, olive -- provide contrast and unity between flowering plants. A bed with diverse green foliage is interesting even when nothing is in bloom.
Designing with Height
A flat flower bed where every plant is the same height looks like a carpet. Height variation creates depth, drama, and visual movement.
The Classic Layering Approach
For borders backed by a wall or hedge:
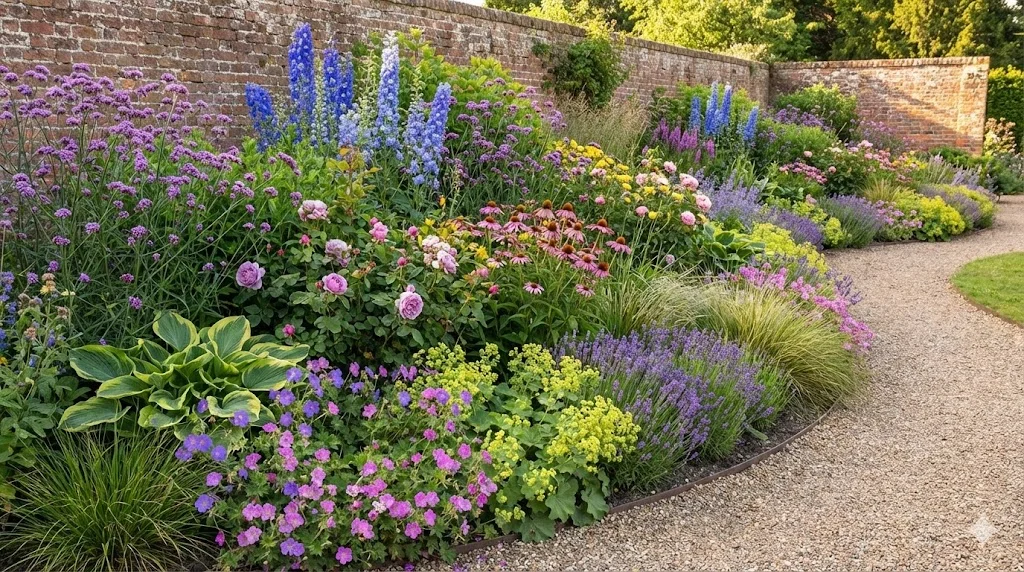
- Tall back row (120-180 cm / 4-6 feet): Delphiniums, hollyhocks, tall grasses, Joe Pye weed, tall asters
- Upper-middle (80-120 cm / 2.5-4 feet): Roses, phlox, echinaceas, rudbeckias, medium grasses
- Lower-middle (40-80 cm / 1.5-2.5 feet): Geraniums, salvias, heucheras, catmint, astrantia
- Front edging (under 40 cm / 1.5 feet): Lavender, alchemilla, low sedums, creeping thyme, violas
Breaking the Rules
Strict height grading can look monotonous. Break it up by:
- Bringing a tall, airy plant like Verbena bonariensis forward -- its see-through stems let you view the plants behind
- Using a tall ornamental grass in the mid-ground for texture contrast
- Placing a bold specimen plant at the front as a focal anchor
Height variation is especially powerful when you visualize your bed design in three dimensions, where you can clearly see how the layers work together and catch any flat spots.
Designing with Texture
Texture is the unsung hero of bed design. While color gets the attention, texture is what makes a planting feel rich and complex.
Leaf Texture Categories
- Fine-textured: Grasses, fennel, dill, asparagus fern, lavender -- airy and delicate
- Medium-textured: Most perennials -- geraniums, salvias, asters -- the workhorses
- Bold-textured: Hostas, ligularia, rodgersia, large ferns, bergenia -- dramatic and architectural
Flower Texture Categories
- Spikes: Delphiniums, foxgloves, lupins, verbascum -- vertical drama
- Daisies: Echinaceas, rudbeckias, asters -- cheerful and open
- Umbels: Achillea, fennel, ammi -- flat-topped, lacy
- Globes: Alliums, echinops, globe thistles -- structural and bold
- Plumes: Astilbes, filipendula, grasses -- soft and feathery
Combining Textures
The principle is contrast. Place bold leaves next to fine ones. Set spiky flowers against round ones. Combine matte foliage with glossy foliage. Each texture makes its neighbor more interesting.
A bed planted entirely with medium-textured perennials feels bland, even if the colors are beautiful. Add a bold hosta at the front and a fine grass at the back, and suddenly the same colors come alive.
Planning for Seasonal Interest
A flower bed designed only for summer is only working for four months of the year. Plan for at least three seasons of interest, and ideally four.
Spring Layer
Weave bulbs through the bed: snowdrops and crocuses at the front, tulips and alliums in the middle, and camassia or tall narcissi toward the back. These emerge before perennials fill in, providing color when the bed would otherwise be bare.
Summer Peak
This is your main performance. Plan for a succession of bloom from early summer through late summer. Do not rely on a single flush -- stagger flowering times so that as one plant fades, another takes over.
Autumn Extension
Grasses come into their own in autumn, with seed heads and bronze tones. Late-flowering perennials like asters, sedums, and anemones carry the bed into October and beyond. Leave seed heads standing rather than cutting back -- they look beautiful in frost.
Winter Structure
Evergreen structure plants, ornamental bark, and the dried skeletons of grasses and seed heads provide winter interest. A well-designed bed should still have presence in January, even if it is quiet rather than colorful.
Practical Bed Preparation
Before planting, prepare your bed properly:
- Define the edge: Cut a clean edge with a half-moon edger or lay edging material
- Improve the soil: Dig in generous amounts of compost or well-rotted manure
- Remove all weeds: Especially perennial weeds like bindweed, couch grass, and ground elder. These will compete viciously with your plants.
- Set plants out in their pots first: Arrange them on the prepared bed before planting. Stand back and check the composition from the main viewpoint.
- Plant, water, and mulch: Plant at the same depth as the pot. Water thoroughly. Apply 5-8 cm (2-3 inches) of mulch around (not over) the plants.
Getting Started with Your First Bed
If you are new to bed design, start with a single border rather than trying to redesign every bed at once. Choose a bed you see every day -- perhaps the one visible from the kitchen window or the one alongside the main path.
Sketch the bed shape. Choose a color scheme of two or three colors. Select five to seven different plants that cover different height layers and flowering times. Plant in groups of three or five for a natural, established look.
Garden Design Team
Expert garden designers sharing tips, inspiration, and practical advice for creating beautiful outdoor spaces.
Explore professional garden design
Gardenly3D is a paid professional garden-design application. See plans for included capabilities and availability.
Join the waitlistRelated articles
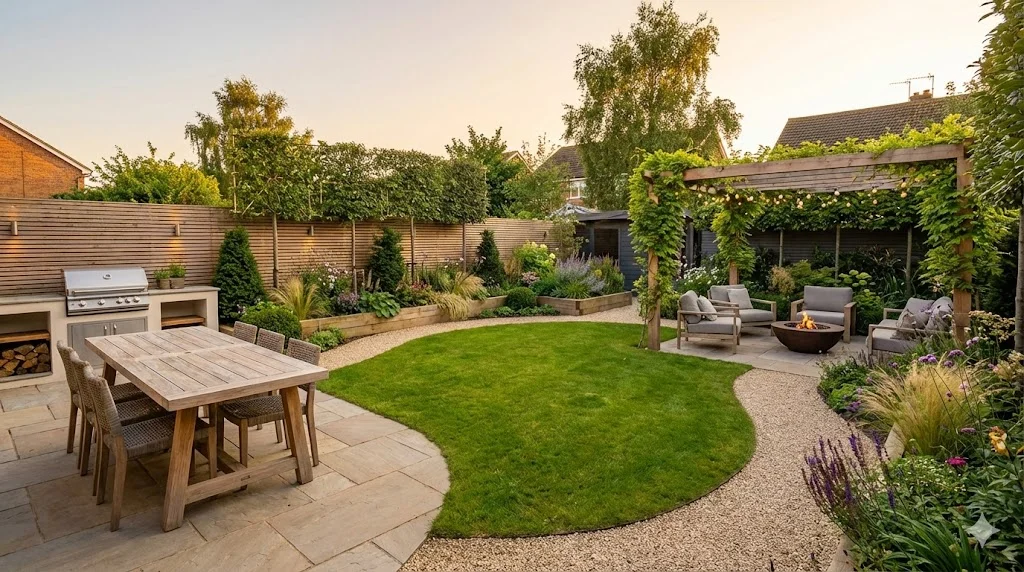
Backyard Garden Design: Creating Your Outdoor Sanctuary
Design a backyard that works as an outdoor living space. Zoning for dining, relaxation, and play, with privacy screening and year-round planting.
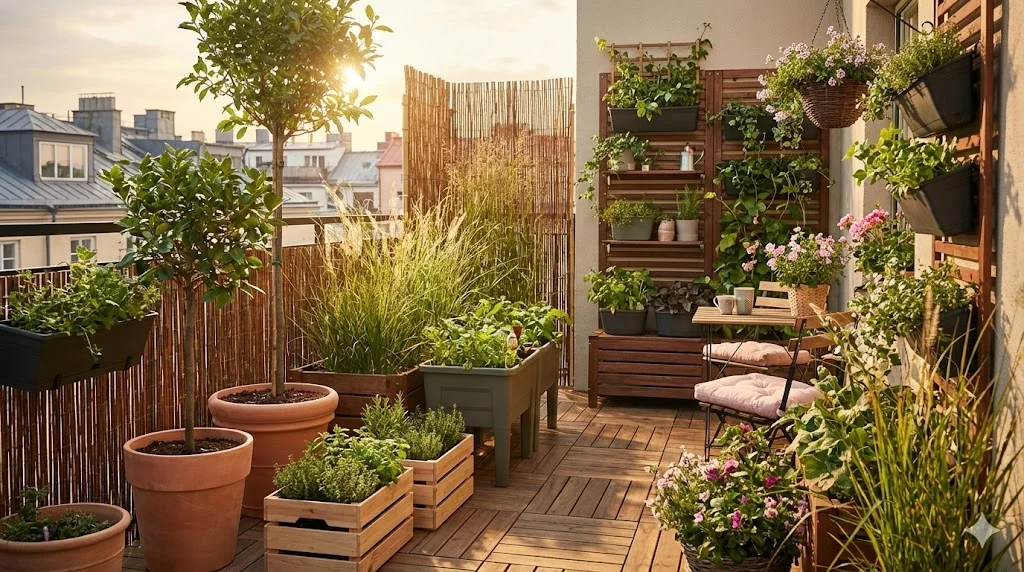
Balcony Garden Design: Growing in Containers
Create a thriving balcony garden with smart container choices, wind-resistant plants, vertical systems, and self-watering solutions for high-rise growing.
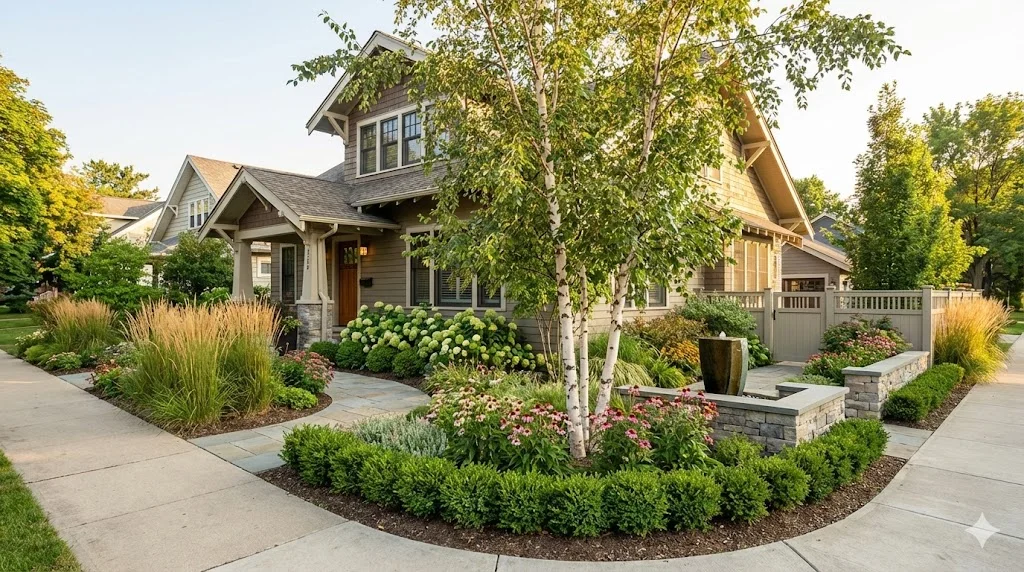
Corner Lot Garden Design: Two-Sided Curb Appeal
Design a corner lot garden that impresses from both streets. Dual frontage planting, visibility sightlines, wraparound beds, and privacy from two directions.